Arduino
Arduino is a trademark, under which are produced ready-to-use boards with a programmable microcontroller. They are used to solve problems where the use of a microcontroller is required. The main idea is that all the piping of the microcontroller has already been completed, so you can immediately begin to solve problems directly, without being distracted by the "scheme".
Fans often connect to such boards LEDs and sensors.
So, if LEDs are connected to the digital outputs of the Arduino board, WinLpt can send commands to control these LEDs. In this case, the Arduino board itself will be connected to the computer via a USB port.
For today, 2 series of Arduino boards are popular, which are easy to use for this task:
1. Arduino UNO, which will manage 12 LEDs (outputs). 2. Arduino MEGA 2560, with which you can use up to 32 LEDs (digital outputs).
I note that the LEDs can be connected to the digital outputs of Arduino only through a limiting resistor.
As you might guess, it is not enough just to connect the Arduino board to the computer, it must first be set up, having written into it a "sketch" - that's what the firmware for Arduino is called. Sketches are usually written in C language, and the standard free program easily writes this firmware to the Arduino controller. Everything happens quickly and easily (as a rule).
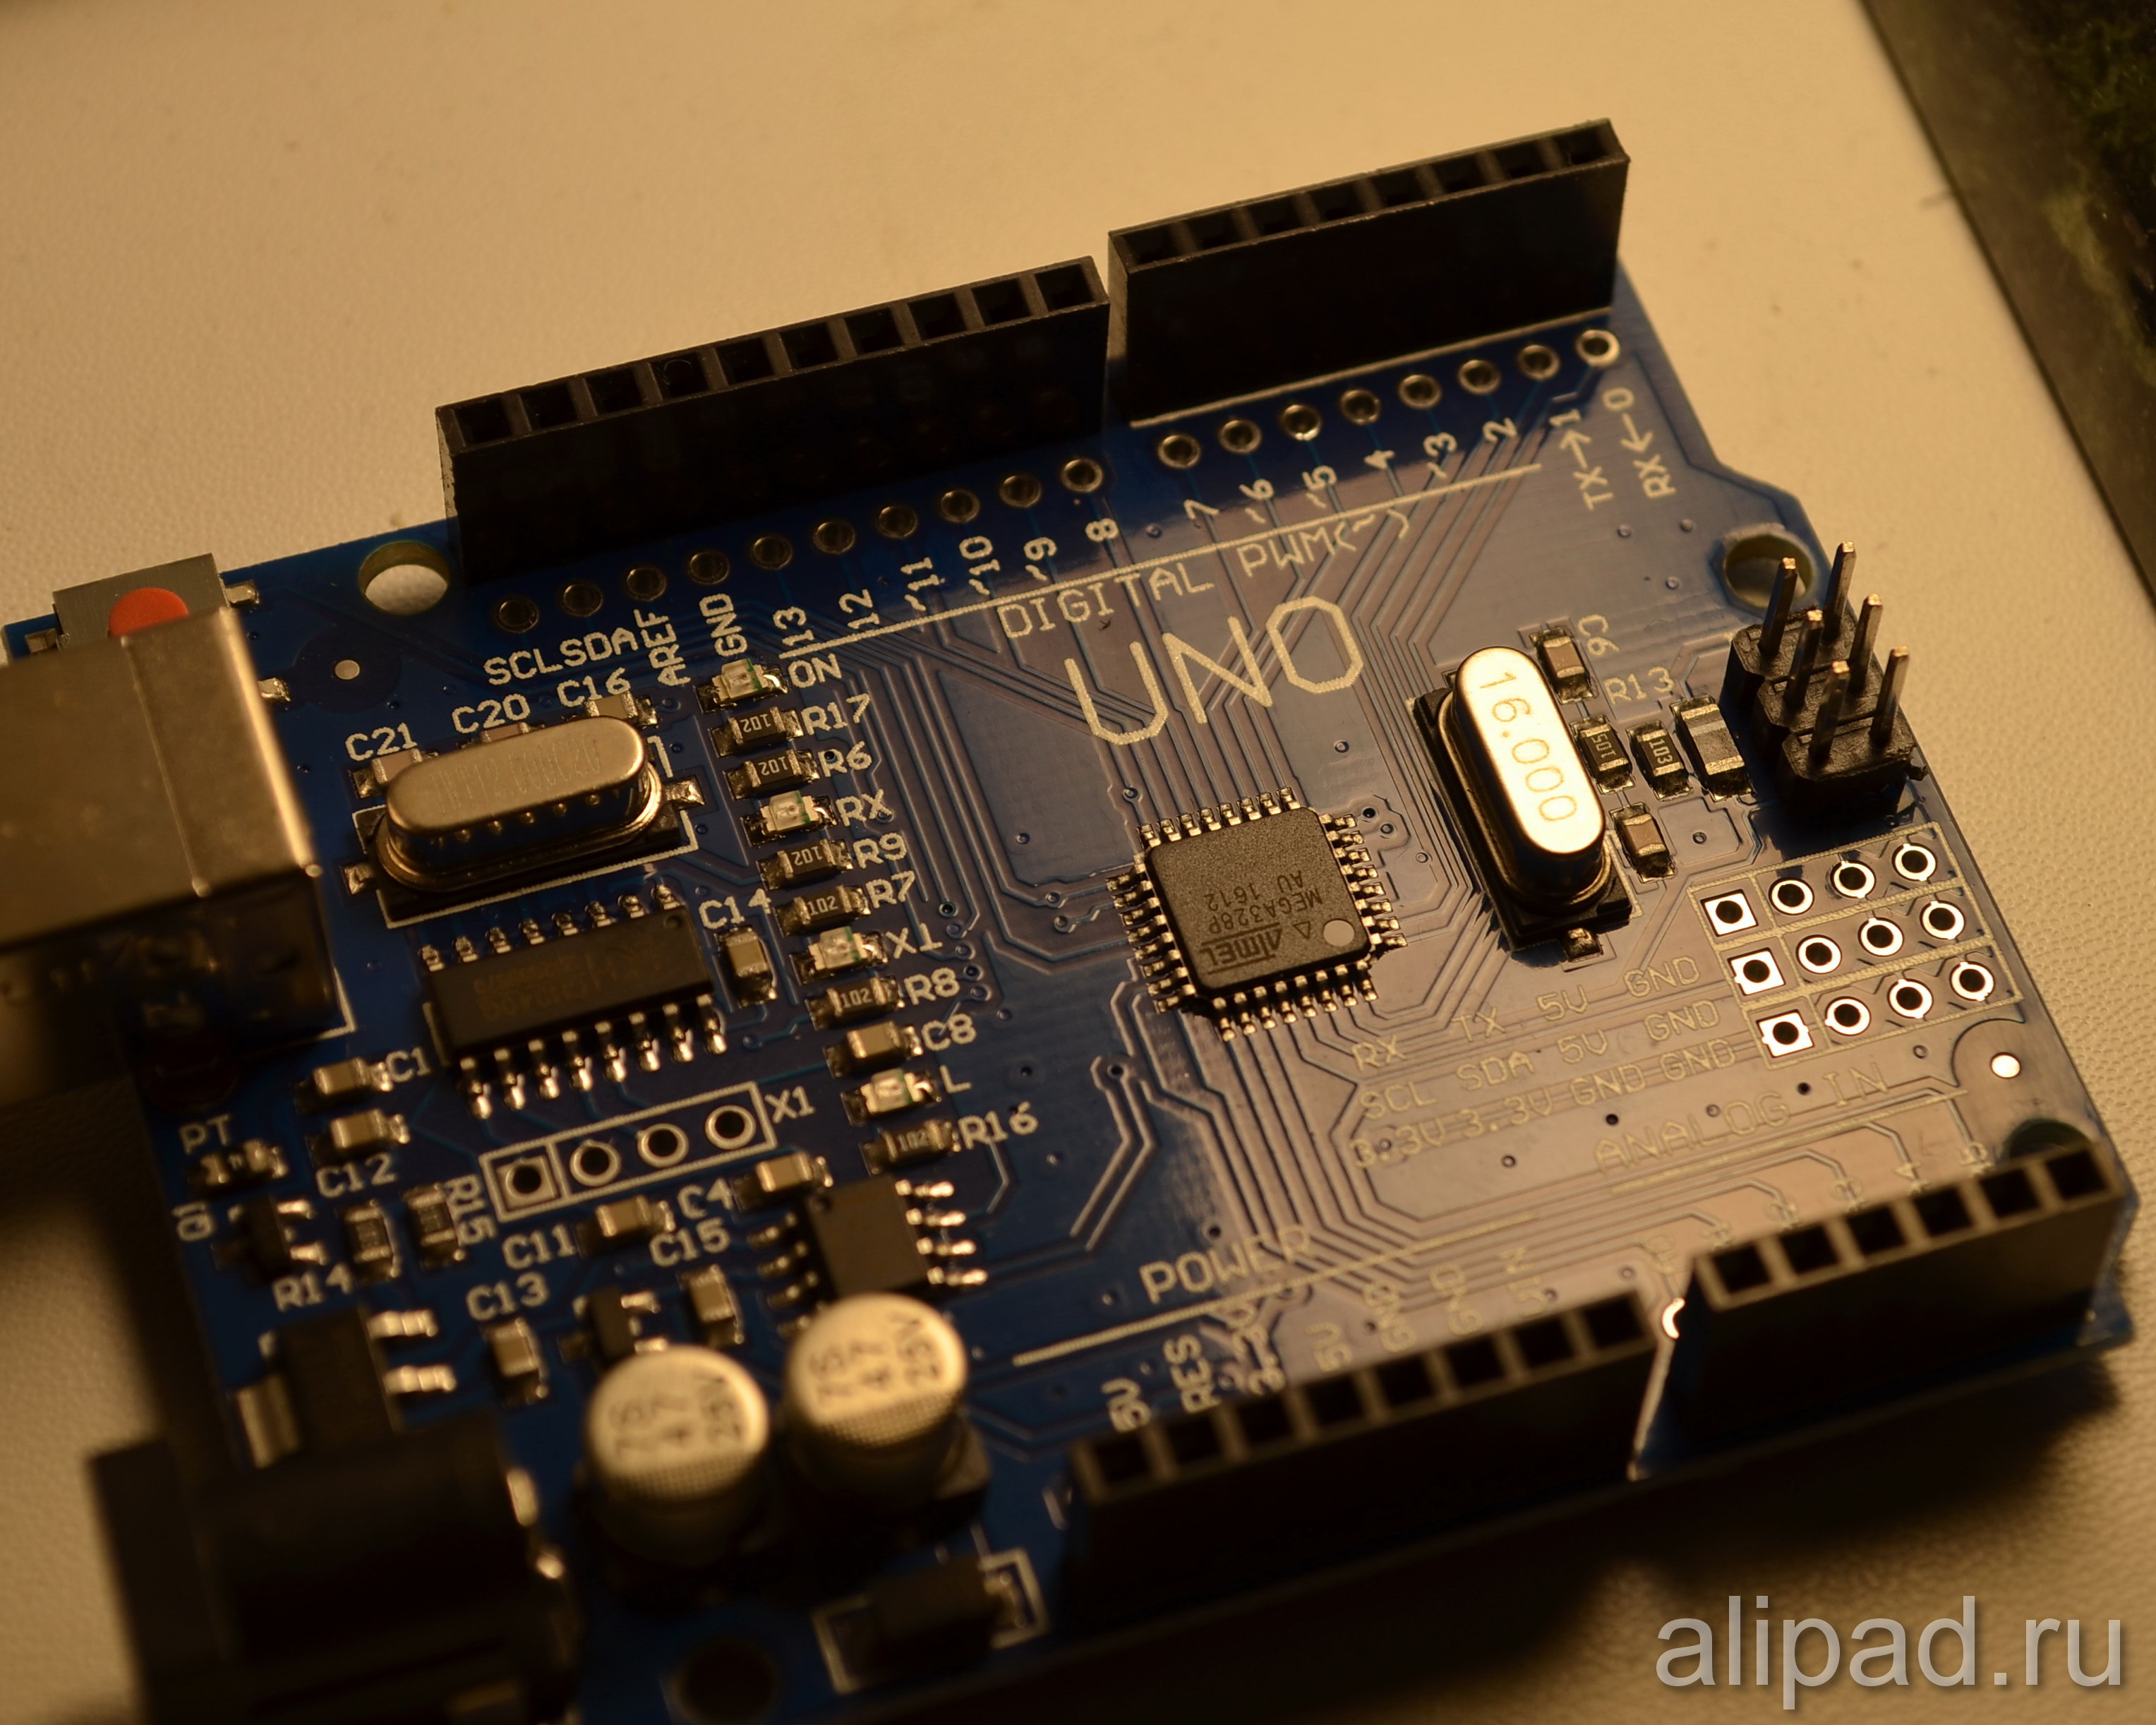
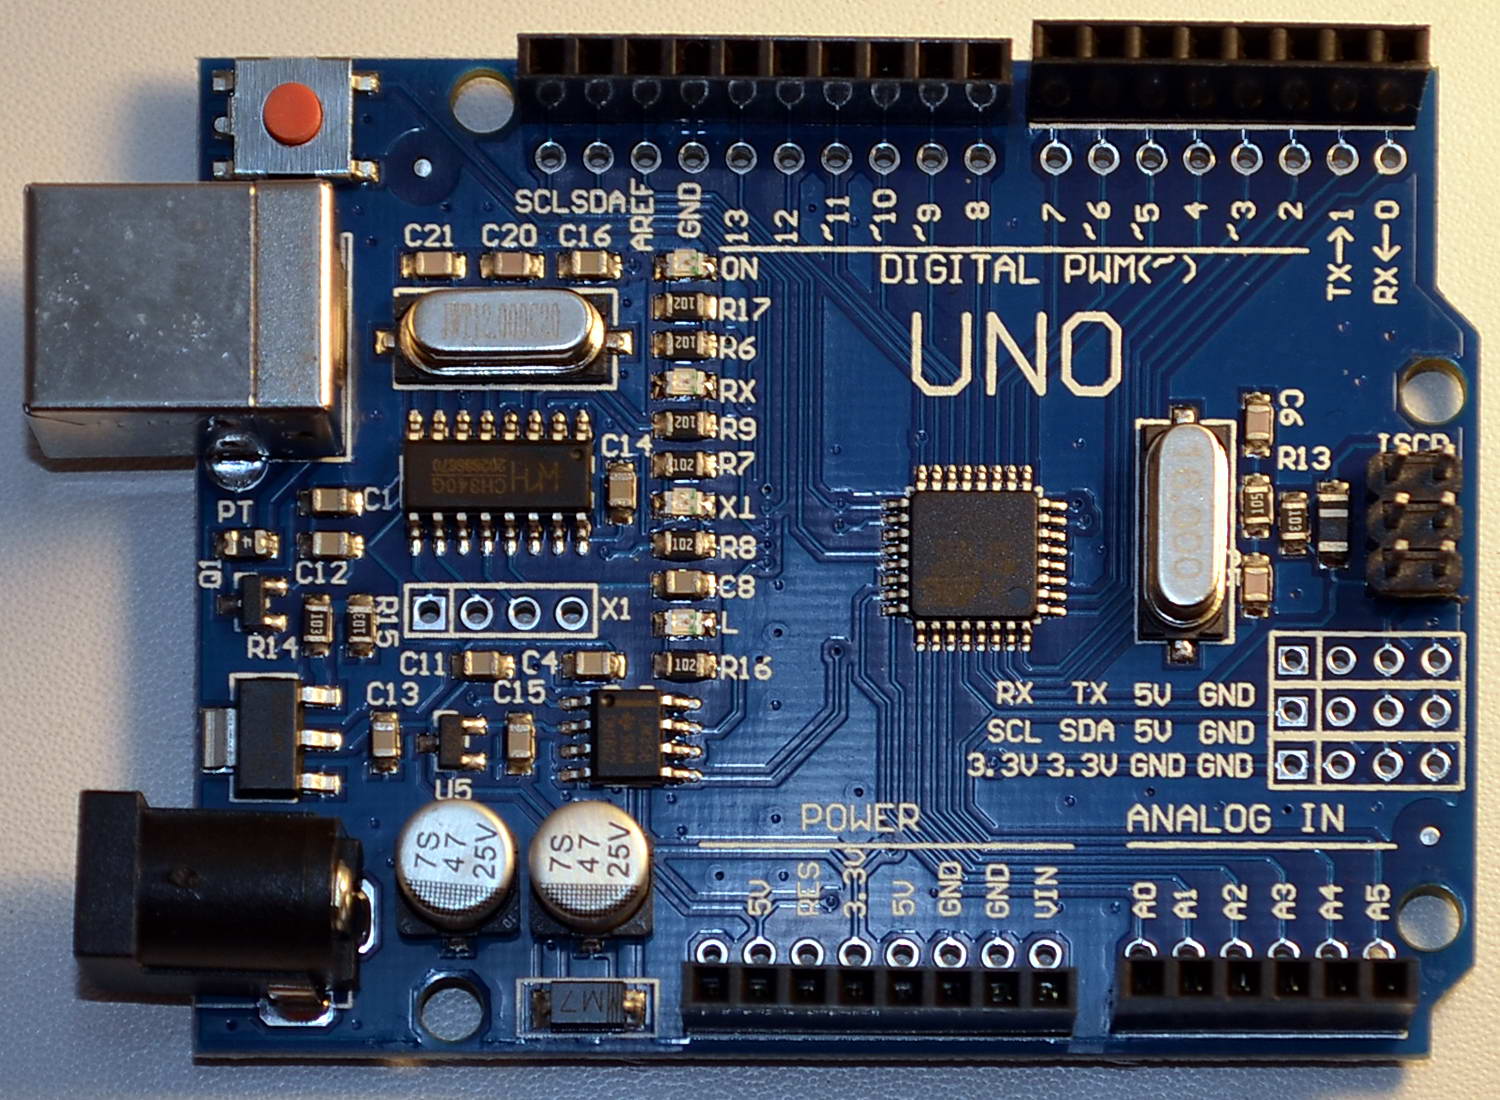
Model: Arduino UNO boardThis is the most popular series of Arduino boards, which is connected to the computer via the USB port. At the same time, the board itself can have a TypeB connector (like scanners and printers), or a micro-B (like a mobile phone). It allows to use 12 outputs for connecting LEDs. Where to buyThe original Arduino boards are too expensive. So I bought from the Chinese on Aliexpress.
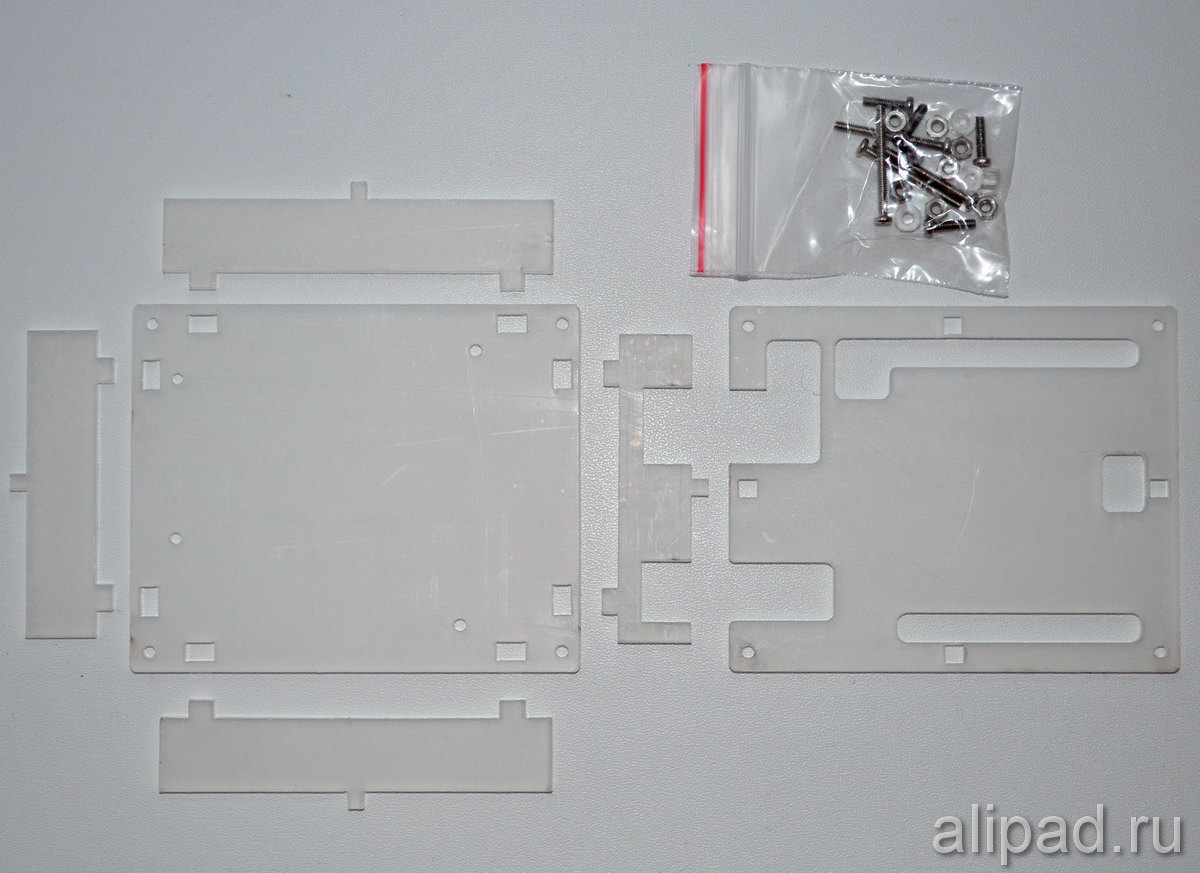
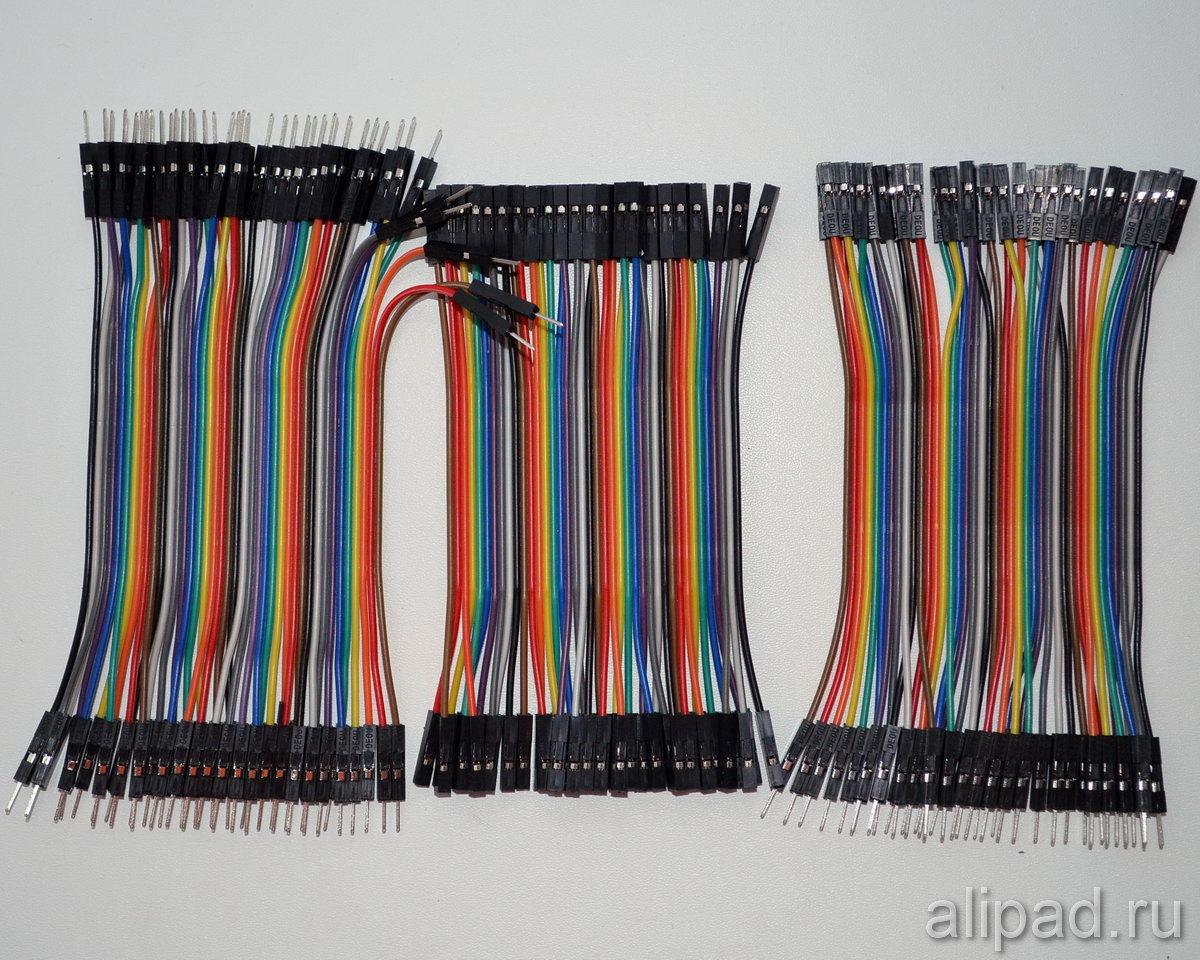
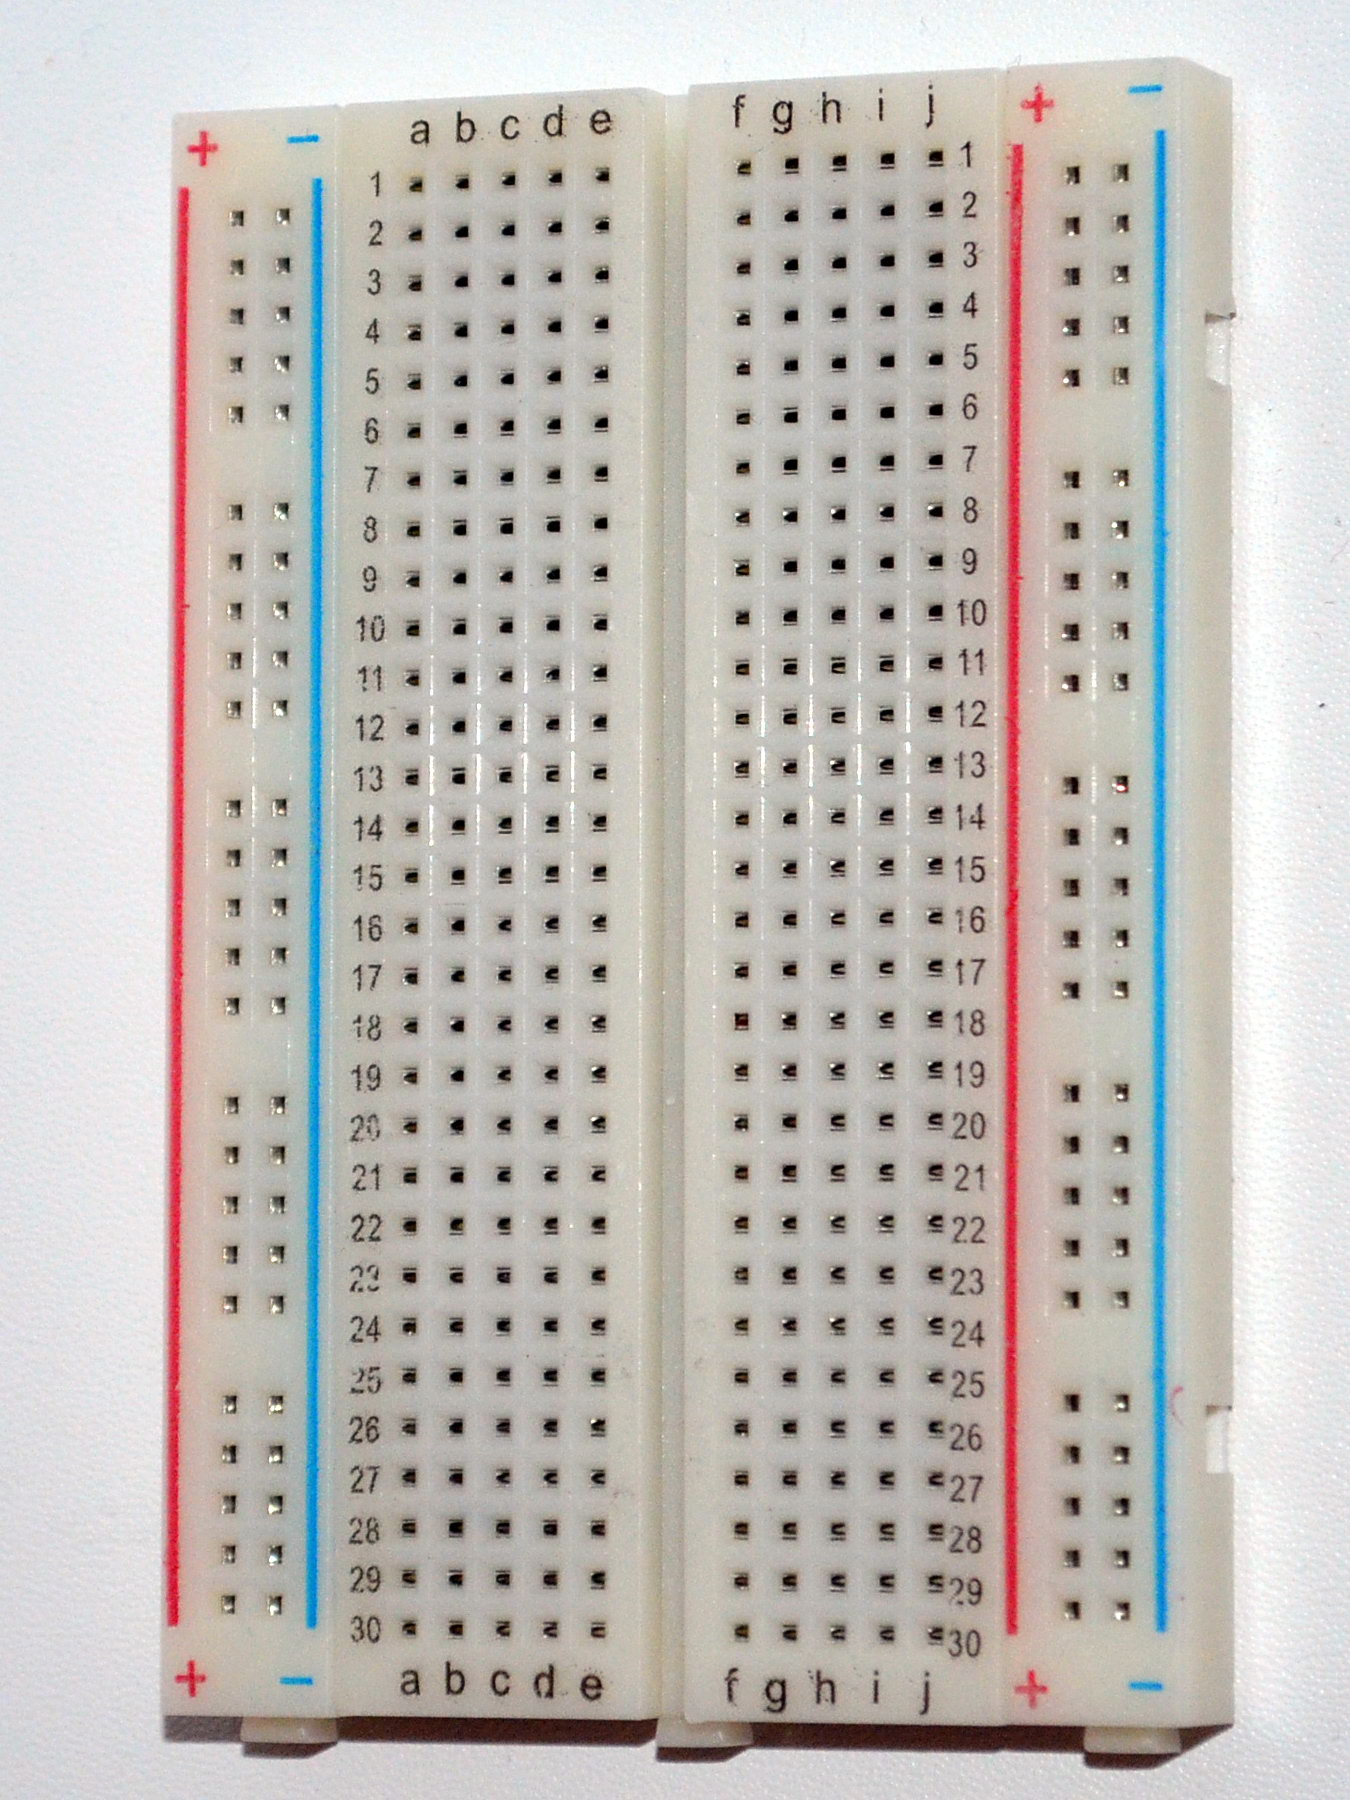
Price: Arduino Uno $4, transparent case $2, dupont-lines $2 and bread board $2.
Total price $10, without USB cable. How to connectFor connecting LEDs, contacts 2, 3, 4, 5, 6, 7, 8, 9, 10, 11, 12, 13 are used. The voltage of the logical unit is 5 volts, therefore, in series with the LEDs, it is necessary to install resistors from 100 to 200 ohms. As a minus, you can use contacts with the inscription: GND.
All contacts can be seen on the photo:
Contacts 0 and 1 can not be used because they are used by the circuit itself. How to setupHere is the finished sketch (firmware) for Arduino UNO: Download sketch
This sketch must be downloaded to the Arduino UNO board, and then configure the Generic Serial output output plug-in:
Speed: 9600 Header: 1 Footer: leave blank Send on stop (full packet): 1 0 0 0 0 0 0 0 0 0 0 0 0 Data bytes count: any from 1 to 12 Viseo: Arduino Uno under WinLpt in light music modeModel: Arduino MEGA 2560 boardThis is a very powerful board, it already has 54 digital outputs, 32 of which can be used for LEDs running WinLpt. However, not necessarily exactly 32 can be any number from 1 to 32.
I bought it from the Chinese. The program or sketch for it will be slightly different from the one shown above.
Here is the finished sketch (firmware) for Arduino MEGA 2560: Download sketch
This sketch must be downloaded to the Arduino UNO board, and then configure the Generic Serial output output plug-in:
Speed: 9600, 19200, 38400, 57600, 115200 Header: 1 Footer: leave blank Send on stop (full packet): 1 0 0 0 0 0 0 0 0 0 0 0 0 0 0 0 0 0 0 0 0 0 0 0 0 0 0 0 0 0 0 0 0 Data bytes count: any from 1 to 32
Also you can see the Russian description with pictures.
22 feb 2018 г. |